
This guide shows you how to use Windows Azure Active Directory Access Control (also known as Access Control Service or ACS)
Requirements:
- Visual Studio 2012
- Identity and Access tool
- An active Windows Azure account
Lets start by configuring the Windows Azure part first.
- Open dashboard
- Click Active Directory
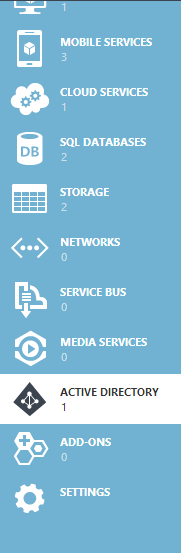
- Click New from left bottom and fill in the name and choose region
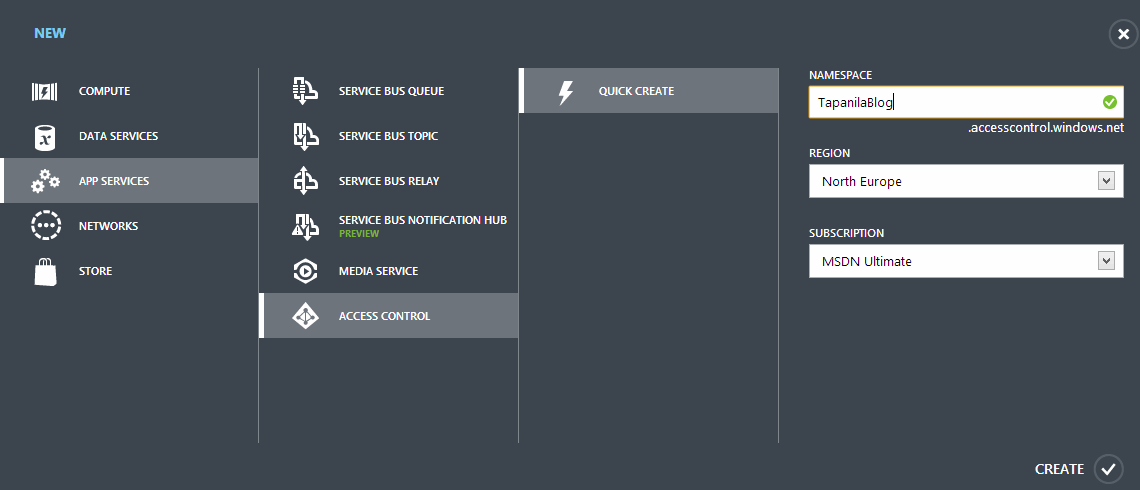
- Choose your subscription and click Manage from bottom

- Take up your Service Namespace. In my case "tapanilablog"
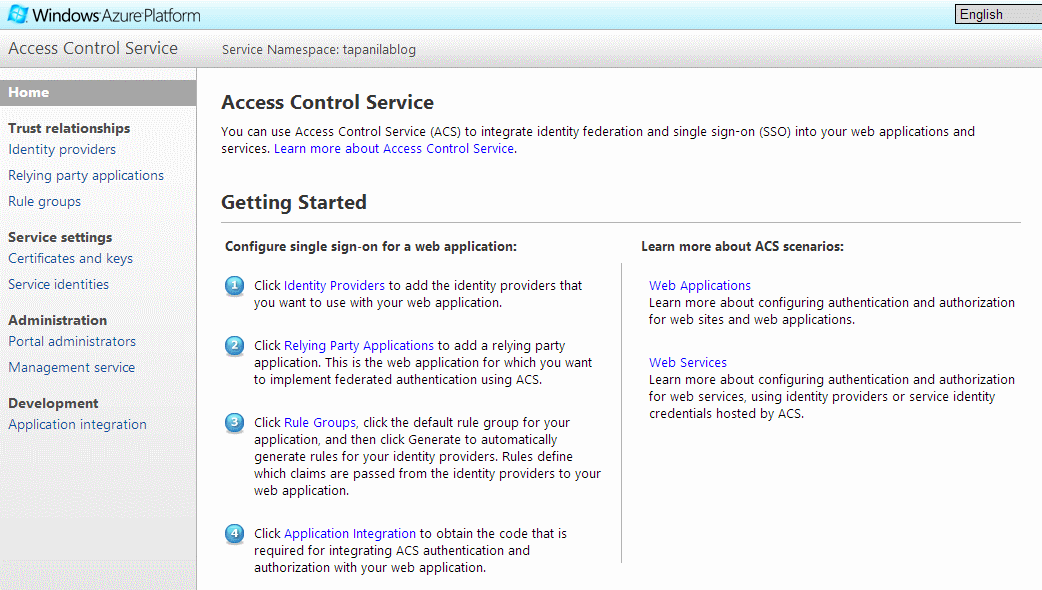
- Click Management Service from left and then ManagementClient
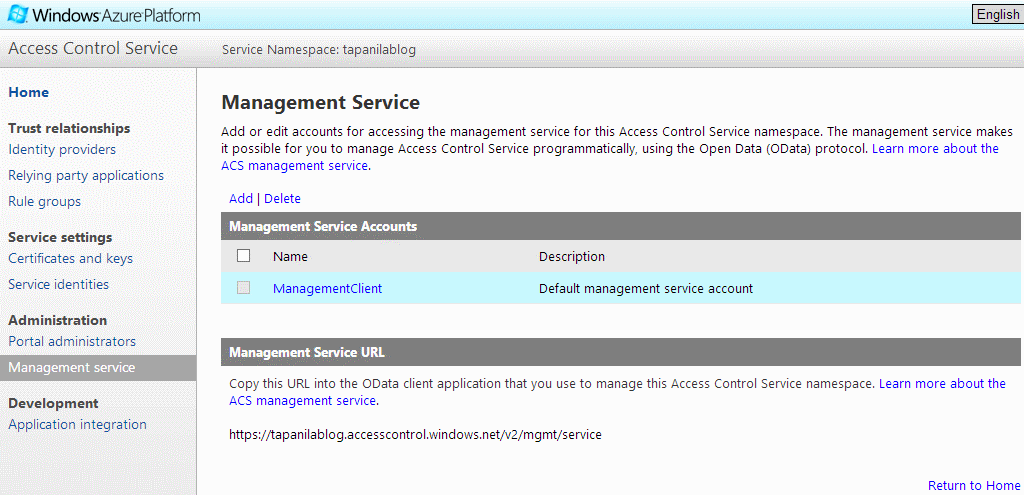
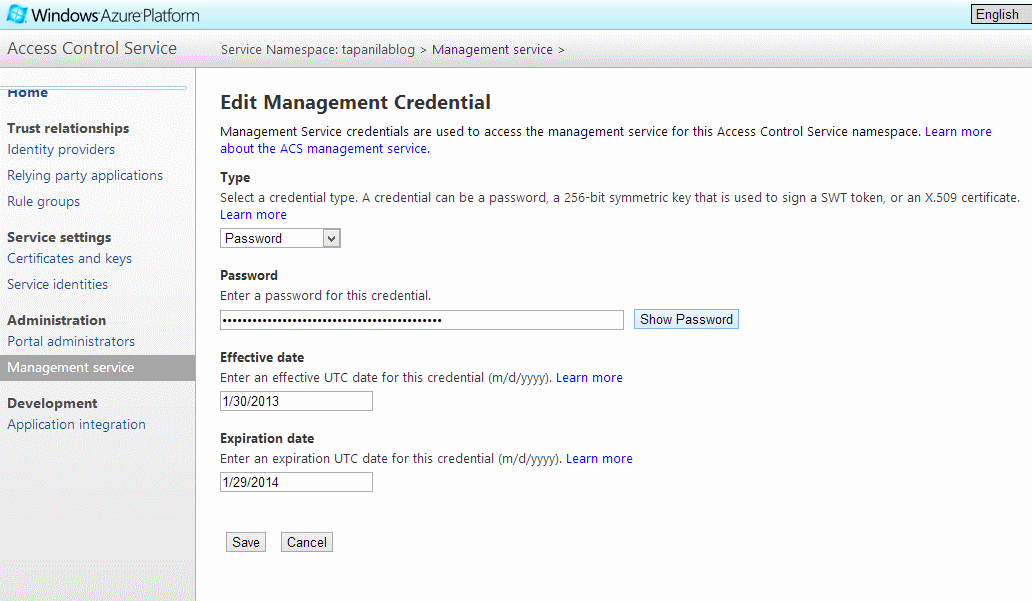
- Click Password
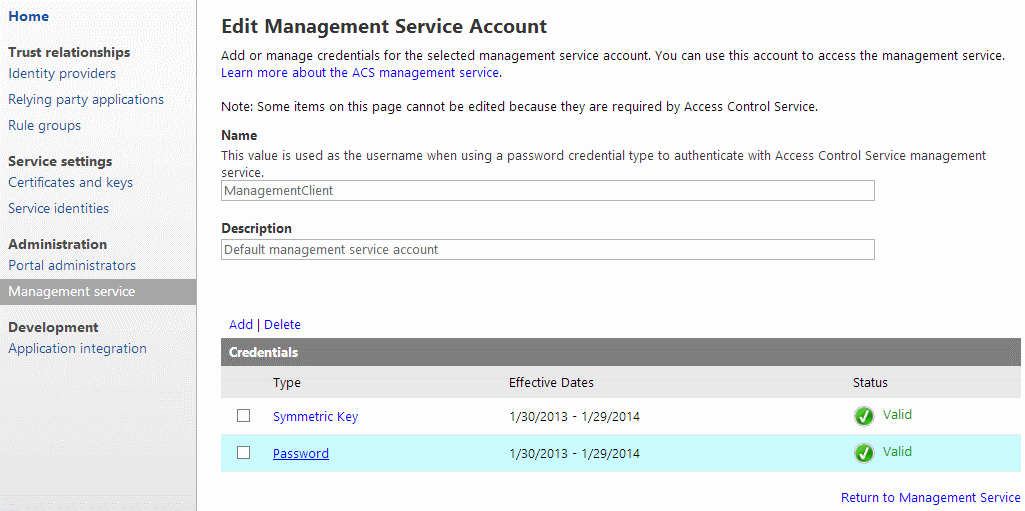
- Click Show Password and take up your Password there's needed later
- Close your ACS management page and go back to dashboard
- Click Web sites

- Create new web site
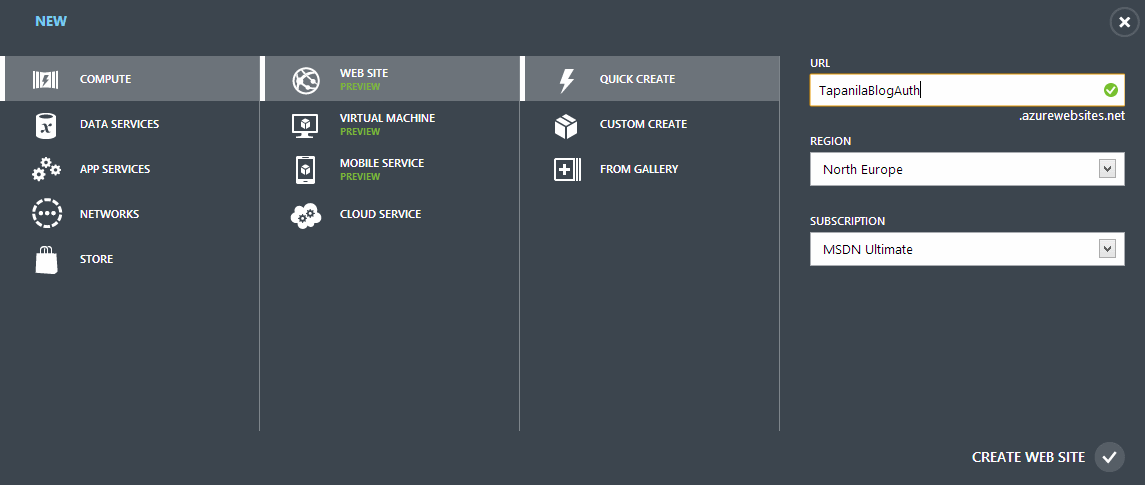
- Download the publish profile and take up the url

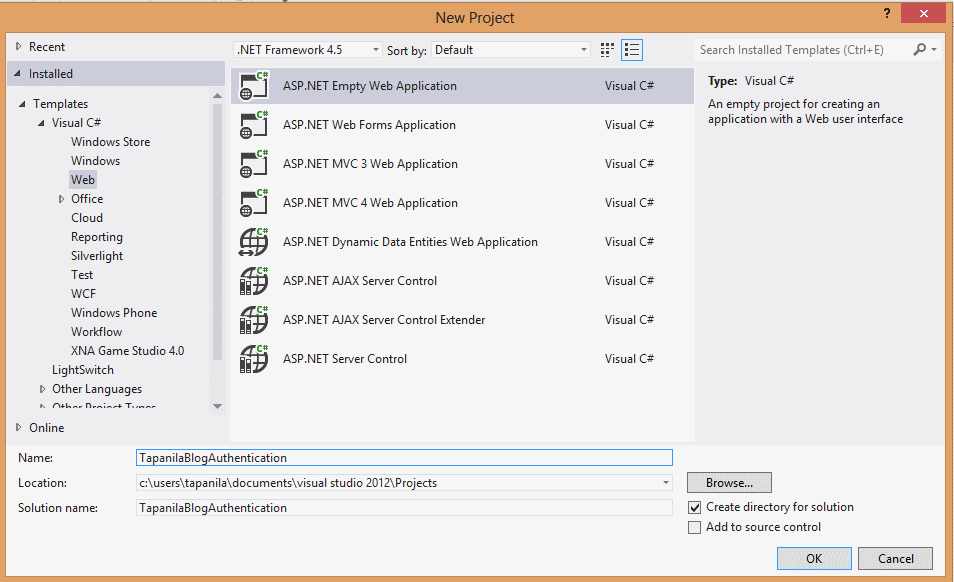
Now the Visual studio part
- Create new web project. Check that you are targeting .net 4.5
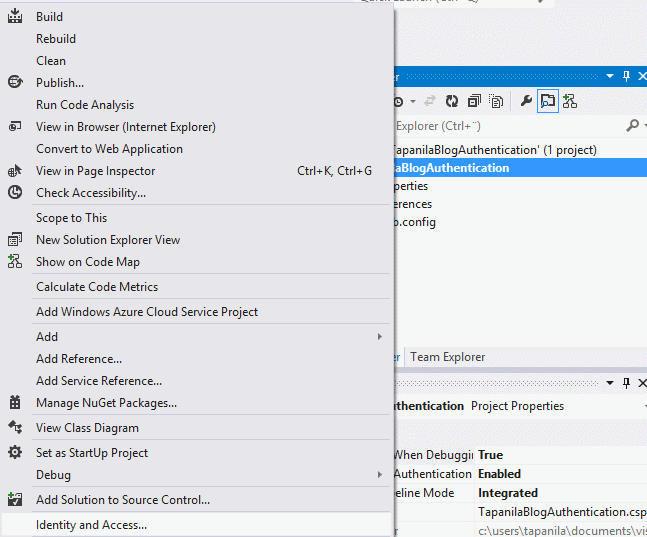
- Right click your project and choose Identity and Access
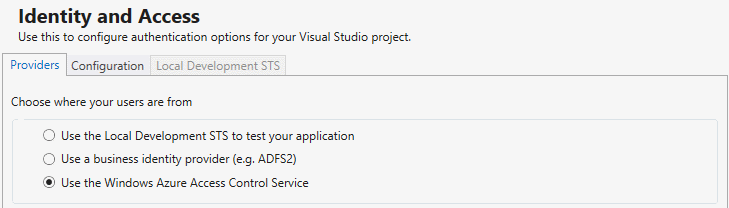
- Select "Use the Windows Azure Access Control Service"
- Click Change from below
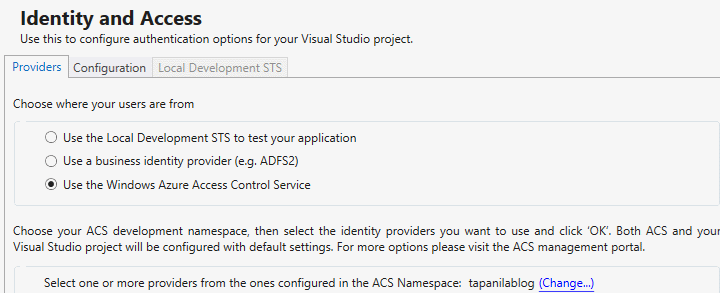
- Enter your ACS namespace and management key that we got before

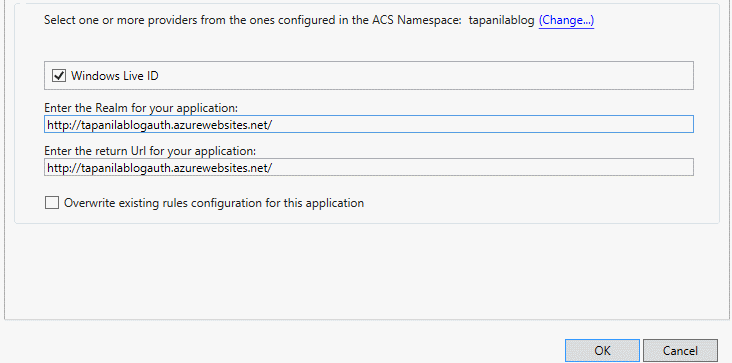
- Choose which providers you want to use with your application and Enter your realms and click okay
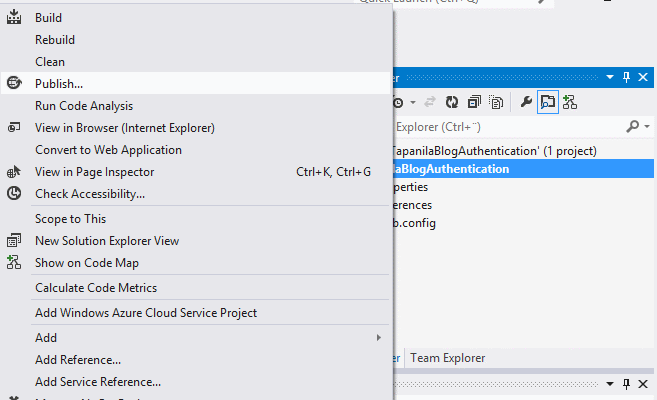
- Right click project and click Publish
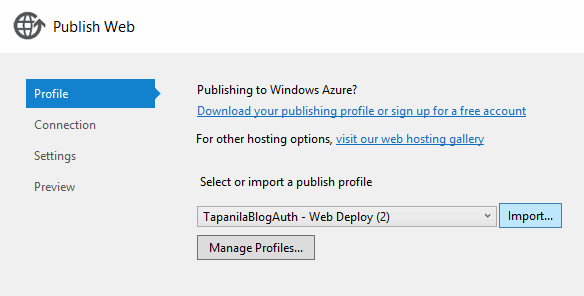
- Import your publishing profile
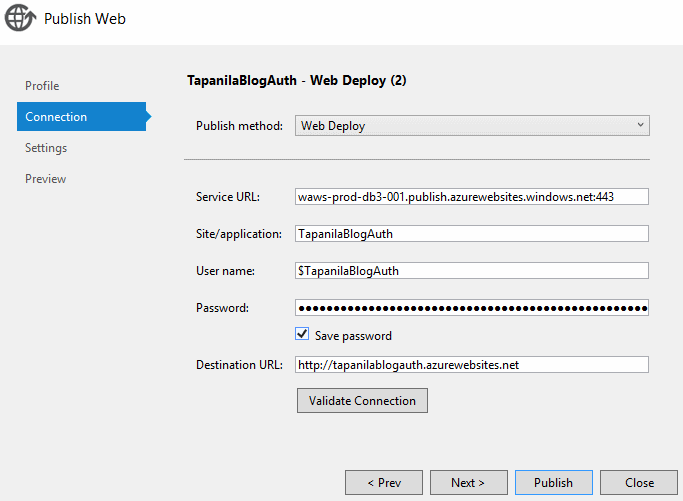
- Click Publish
- Now it should open your website and automatically redirect you into Live login because that's the only method. After your login is completed it will show you "Server Error in '/' Application. Because we used empty project
Update 29.7.2013: If you have Runtime/Server issues when you have deployed this to Azure follow this guide.